

As with any trend, I’m about two years late catching onto this one. I’ve seen ombre all over the place in the last couple of years but haven’t really applied it to anything personally. No, the ombre on my hair is not intentional. I’m just overdue for a root touch up. I adore the trend on manicures, but I have enough trouble simply painting my nails, much less attempting any form of nail art.
I’ve also recently realized that I have absolutely no photos around the house! Honestly, if someone broke into my house they would have no idea who lives here! Not that my only reason for displaying photos is to inform potential intruders of my identity, but it would be nice to show off some family photos. I ordered a few prints from Shutterfly (their mobile app is great!) and began trying to think of some creative ways to display them around the house.
In case you didn’t know this, the dollar store sells some decent photo frames! I mean, they’re not breathtaking or anything and many outright horrendous, but if you dig through the piles you will most likely find a few simple ones that are passable on their own.
This seemed like a good a time as any to give the ombre trend a try. I picked up 5 black frames from the dollar store. If you have the option, white is probably a better choice since you will start with a light color but these worked fine too.
You will need:
- Picture frames
- Acrylic craft paint in your choice of color (I used turquoise)
- Acrylic craft paint in white
- Foam brush
- Optional: clear protective spray (I used Rust-Oleum)

First off you want to remove the glass/back of the frame. To get the ombre effect, you just need to combine different parts of color and white paint to get slightly different shades of the color.
I used small plastic cups and poured a little bit of white into each cup. Pour a couple of drops of the color paint into the first cup, stir. You would then pour a little more into the second cup to get a more concentrated color. Stir the second color and make sure it looks different from the first one. You then pour a little more than that into the third cup, and so on (depending on how many frames you are doing this with). I would recommend that you start with a fairly small amount of the white paint, so that you don’t need a lot of the color to alter the shade. For my last frame, I actually just used the colored paint without any white mixed in.

Use the foam brush to give your frames two coats of paint. This is where the cups came in handy. I covered them with plastic bags so that they wouldn’t dry out while I waited for my frames to dry. This way, you don’t need to recreate the shades when you go back to give them a second coat. Craft paint dries fairly quickly, so the project only took a couple of hours including drying time. Once dry, I just gave them a quick coat of the protective spray (acrylic craft paint is not the most durable of finishes, in my experience).
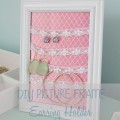
Once that dries, your ombre frames are complete! Obviously, your results would be maximized if you did not hang them in a room that has walls of a similar color…
I may need to move these to a different room down the line, but I love the way they came out! And I smile at happy memories every time I walk by them. You can’t tell from this photo, but the top one is from Jack running around our yard after we had cut the grass, which resulted in green paws. A couple of them are from a recent trip to Greece with my mom, and a rare shot of my boyfriend in a suit taken at my best friend’s wedding last year.


Hi Lusine,
Good work on the pictures and you got them at the dollar store to boot. I don’t know if you knew this, but there are some places online from which you can pick up some custom picture frames that do not break the bank. Perhaps as you continue your decorating projects one day you may find yourself in need of some picture frames. Anyway, the top companies are Graphik Dimentions, American Frame and the Picture Frame Guys. Of course I am partial to the Picture Frame Guys, but hey, that’s just me.
Anyway, enjoy your projects. I’ll be sure to watch the progress as I enjoy watching decorating happen…but I am hopeless at it myself.
Hi Peter! Thank you so much for the suggestions! I did have a quick look at Picture Frame Guys, and you guys offer a good value :)..I’ll be sure to keep this in mind for future projects that don’t involve painting over the frames (the frames are pretty incredible on their own!)
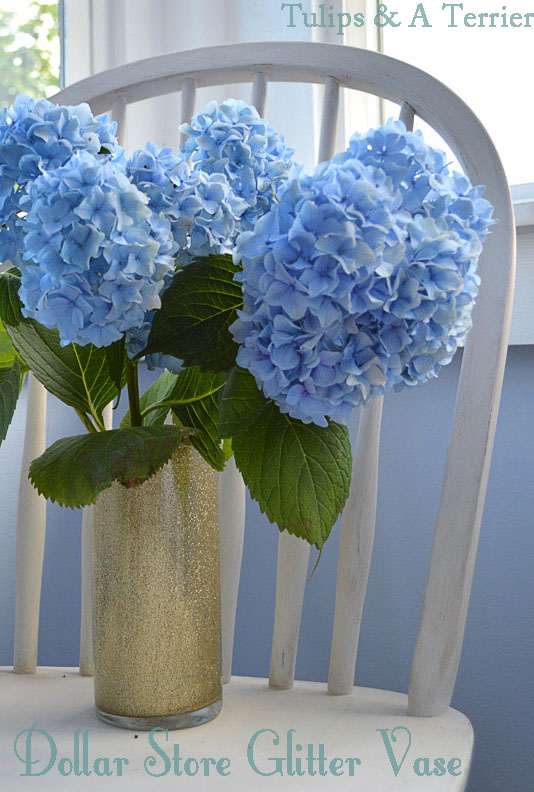
Pingback: Dollar Store Glitter Vase | Tulips & A Terrier