

Doesn’t December just always sneak up on you? I’m still a bit startled whenever I come out in the morning to see my car covered in a layer of frost! FROST! Maybe because we’ve had overall mild weather throughout the fall (by New England standards, at least) that I can’t quite get over the fact that we’re in the first week of December already.
But rest assured friends, the holiday spirit is alive and well here at Tulips & a Terrier as I steadily continue to glitter everything in sight! And you’re probably already aware of my fondness of wine bottle vases. I’m really passionate about, um, recycling.
Anyways! As you can imagine, there are a million directions you can go with these!

I decided to give myself a nice blank canvas by spraypainting the bottles with two coats of a flat white spray paint. The only prep work you need to do before this is to remove those pesky labels and glue (this stuff is the best!). Make sure you shake the can for at least two minutes and test it to make sure the color is even. Spray the bottles in thin even coats and allow to fully dry before you proceed with glittering.
Now, for the fun part!
Materials
- Glitter (I have this Martha Stewart set)
- Mod Podge
- Painter’s tape (stripes)
- Round foam pouncers (polka dots)
- Clear protective enamel (preferably gloss finish)
For the striped bottle, use the painter’s tape to create a stripe pattern. I had initially planned to glitter the bottom of the bottle as well but then realized that I needed a way to keep the bottle upside down while the glitter dried. Oops. There goes that idea!

Once you’ve created your stripe pattern, use a foam applicator to apply Mod Podge to a small part of the stripe and sprinkle on the glitter. I would suggest working in small-ish increments. Mod podge dries quickly and you don’t want it to dry out before you’ve had a chance to fully cover it in glitter.

Don’t be shy here, folks! Too much glitter is better than not enough, you want to make sure you have the area fully covered. It will only stick to the Mod-Podged area. Make sure you have something underneath to catch the falling glitter. I like to use a piece of kraft paper so that I can just fold it up and dump the excess glitter back into the jar.
Lightly shake off excess, and proceed around the bottle! Leave the tape on while the Mod Podge dries.
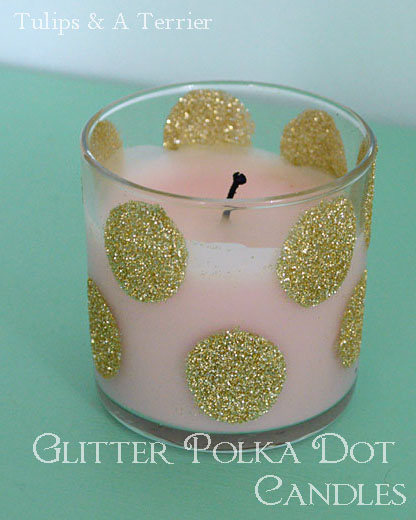
On to the polka dots! This is really deceptively easy. I first discovered this method a while back when I tried it on a candle and have used it on many, many occasions. Because what wouldn’t be made better with glitter polka dots?
Pour out a bit of the Mod Podge onto a plastic plate or something of the sort, press foam pouncer into Mod Podge. This may seem obvious, but you really want to make sure the surface area of the pouncer is covered in Modge Podge all the way around.
Dab off excess on a paper towel, and then press the pouncer firmly onto the wine bottle. Try not to move it around once you’ve pressed it onto the bottle, doing so may result in weird looking and wonky polka dots.

Shake a whole bunch of glitter onto the circle, ensuring that the entire podged area is covered. Don’t worry so much about the excess around it, the glitter will only stick to the area covered in Mod Podge. Continue on to create desired polka dot pattern!
Once you’re done, survey your bottles to see if there are any little gaps where the glitter did not stick, you can use a small paintbrush or a q-tip to apply more Mod Podge to these areas and fill in with more glitter.

Allow to dry fully before peeling off the tape and wiping off excess glitter around the polka dots (which can be done easily with a paper towel). Spray a coat of clear protective spray to prevent glitter fallout.
I filled mine with some glittered branches (since glitter goes with, you know, glitter.)

I’m still trying to find a home for them around the house. I fell in love with this pretty red glitter (the color is called Ruby) and didn’t even stop to think whether it would look good with anything else we have. Oh well, I’m sure we’ll figure something out!

I’d love to hear what you think of them!


What a gorgeous red glitter! It looks like it borders kind of fuschia/magenta.
Those polka dots ARE deceptively easy. I thought you’d be sharing some circular sticker/stencil material but you just used a round foam pouncer? Genius.
Amy @ Homey Oh My! recently posted…DIY Painted Bowls
Thank you Amy! It’s even prettier in person if you believe it! The polka dots look way more impressive than the skill/effort needed to produce them. As long as the whole surface area of the pouncer is covered and you don’t move it around, it is pretty foolproof.
Pingback: DIY Giftwrap Ideas | Tulips & A Terrier