
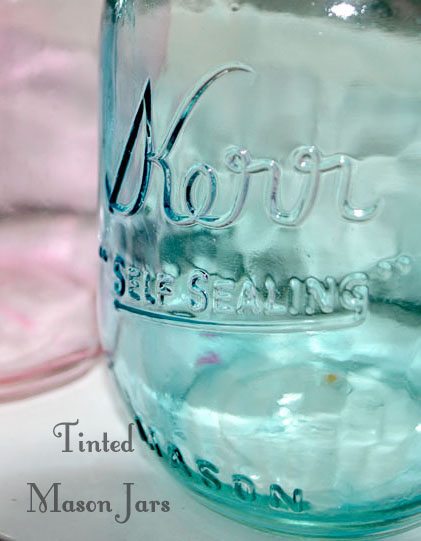
So, I have been completely obsessed with those vintage looking tinted blue mason jars that I’m seeing all over Pinterest. I just think they’re so charming! I thought they might be a cute way to store some things around the house, display some flowers, you know. So, I did a quick Google search to see where I could get my hands on a few of them. Turns out, they are more expensive than I initially thought. There is no way I am paying close to 15 dollars for a single mason jar.
On to plan B…can I make them myself? A couple of minutes on Pinterest later, I found my answer. So, I settled on this tutorial and headed to Michael’s for my supplies.

I had initially intended to buy one of those 12 packs you see at the supermarket. I decided to pace myself with 4 jars. At 1.50 each, this seemed much more reasonable.

I had never heard of Mod Podge before. Now that I’ve purchased a massive jug of it, I figured I’d look it up to see what else it can be used for. Turns out, it’s actually pretty handy. There’s even blog devoted entirely to crafts with Mod Podge! Who knew?! No doubt I’ll get through this jug in no time.
After combining a drop of food coloring with a tablespoon of water, I stirred in 3 tablespoons Mod Podge. After they dried the first time, I actually found the color quite underwhelming so I redid them. This time with 3 drops of food coloring.
Pour the Mod Podge mixture into your jar and swirl it around to coat the inside of the jar. Pour the excess back out and flip over to dry. You really want to hold it upside down for a minute or two before you set it down to allow more of the excess to drain out of the jar and then wipe off the excess at the mouth of the jar before putting it down to dry.

It’s pretty clear based on the photo that I didn’t take that step in my first attempt. Small misstep aside, that was pretty easy!
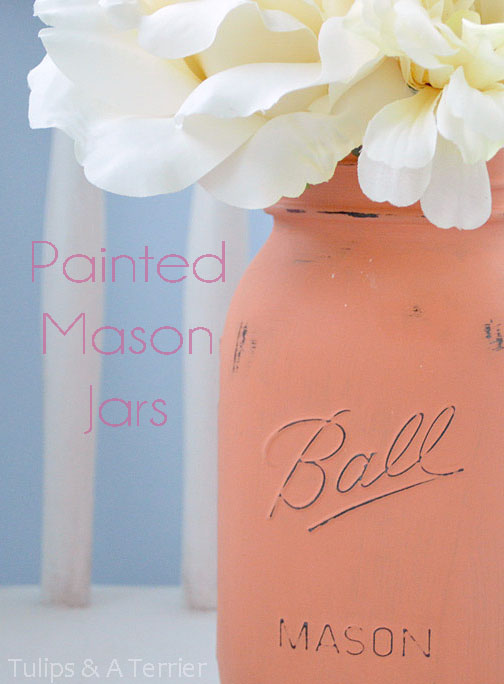
I decided to see what it would look like with the pink. Who didn’t see that one coming?

Set them down on some paper to dry for an hour. I hate this part. I’m super impatient with stuff like this. I kept picking them up to see if they had magically dried in a fraction of the time. No such luck.

As I mentioned, my first attempt left a barely-noticeable tint on the jars. I was obviously going for more of an impact. Below is the second batch. So much more vibrant, no?

After the hour, you then set them on some wax paper on a cookie sheet and bake them in a 200 degree oven for an hour. I baked them upside down for half an hour, flipped them over, wiped off the mouth of the jar and popped them back in for another half hour.
I always worry about glass things exploding in the oven. It’s not a rational fear, I know. Half an hour later, I retrieved my non-shattered jars from the oven and…voila!

Some of the Mod Podge/food coloring mixture had condensed towards the top of the jar, but it was simple enough to peel off. These are so cute! I can’t wait to put things in them!
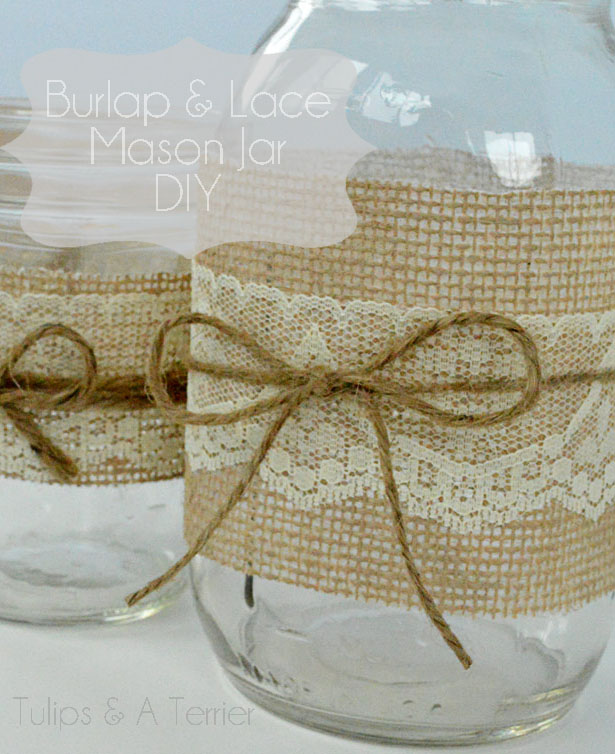
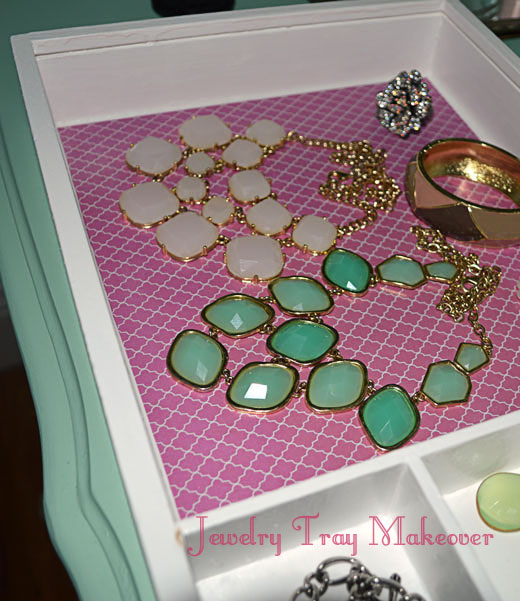
I’m totally going back to get more jars this weekend! The possibilities are just endless, honestly. I can store my hair accessories, makeup brushes, display flowers, you name it! Maybe I’ll even tie a piece of twine around it or something to make them look a little rustic.


Okay, I was seriously holding my breathe reading your post just praying to myself that it didn’t turn into a Pinterest fail.
Phew.
Yours look so much better than mine too! Thanks for the shout-out link!
🙂 Linda
I was a little worried at first too, it happens all too often with me. I lucked out this time though! I highly doubt they look better than yours, but thank you!! I probably have a dozen of your projects on my to do list…
Thanks so much for reading 🙂