

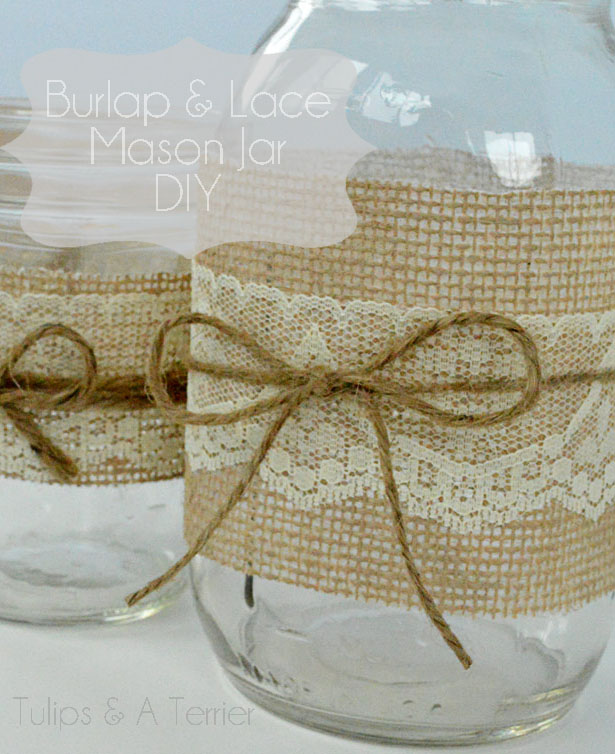
So, we’re currently in the process of giving our bathroom a bit of a makeover. It’s long overdue and I’m super excited to see how things come together! Over the last couple of weeks, I’ve been picking up and DIY-ing some decorative accents to dress it up a bit (including a ruffled shower curtain and some burlap and lace mason jars to house makeup brushes!). Keeping on the same, vintage/romantic theme, I decided to try my hand at some lace decoupage.
This technique seems to have taken off a bit lately thanks to Martha’s line of perfectly coordinated decoupage products. You can apply this to anything from jewelry, to vases, to lamps. I decided to try it with picture frames.

I’m not too sure what I plan to put in the actual frames just yet, but I had a couple of frames I had picked up from the dollar store that would be perfect to experiment with. Basically, you just want something with a flat border.
I gave them a quick sanding with medium grade sandpaper. Nothing major, just to roughen up the surface and give my paint something to adhere to. This is what they looked like after a couple of coats of Benjamin Moore’s Pashmina. Now, this was my first time working with Benjamin Moore paint, and I am rather impressed with the quality! It covers so well! I had picked up a sample at a hardware store a few months back because I hoard samples of paint and it was more than enough for a couple of frames.

Once the paint was dry, I sanded it lightly using fine grade sandpaper. You know, to give it a little character. I don’t know what I have against non-distressed paint. Surprisingly, I did not go out and purchase multiple decoupage products from Martha’s line. Instead, I used what I had on hand. Yes, friends, I too can sometimes demonstrate self restraint.
Anyways! I used some lace trim on hand and some Mod Podge Matte.

First, you want to strips of the lace trim that measure as long as the sides of your frames. A little bit longer won’t hurt, you end up trimming them anyways.

Once you have your lace strips, you apply a layer of the Mod Podge to the frame (except for the corners) and press the lace onto the frame. I had tried to also apply Mod Podge to the back of the lace, but I think it might have been too much as the lace stuck to my fingers when I was pressing it down.

It didn’t feel like the lace was sticking too well on it’s own, so I dabbed bits of Mod Podge over the lace in a few spots (just to secure).

Secure all four sides (except edges!) and let dry about 20 minutes or so. Once dry, use a small pair of scissors to trim the lace at the corners to just slightly overlap. Use a paintbrush to brush some Mod Podge over the corners to flatten the edges. Also brush a light layer along the lace around the frame to seal it in.
I had initially started with a foam brush, but realized a small paintbrush worked much better for getting into the lace and applying the Mod Podge with more precision.

I love the end result! They look a bit vintage and romantic, with a touch of bohemian. Undoubtedly, anyone visiting my bathroom would think I picked these up at Anthro for thirty bucks a piece.

As I mentioned, I’m not too sure what I want to display in them just yet. Ideas are very welcome! I was thinking some vintage Paris photography (such as this or this).

Also sharing these at Give Me The Goods!


Nice job!
Thank you for your continued support, Sossy! 🙂
These could totally be sold at Anthro! Beautiful! I’m in love with that Pashmina color.
Amy @ Homey Oh My! recently posted…Fall Decorating with Liquidambar
Thanks Amy!! The color looks even better in person, reminds me of a perfect cashmere sweater (or pashmina, for that matter) 🙂
Pingback: Lace Trim Throw Pillow | Tulips & A Terrier
Pingback: DIY Floral Picture Frame | Tulips & A Terrier